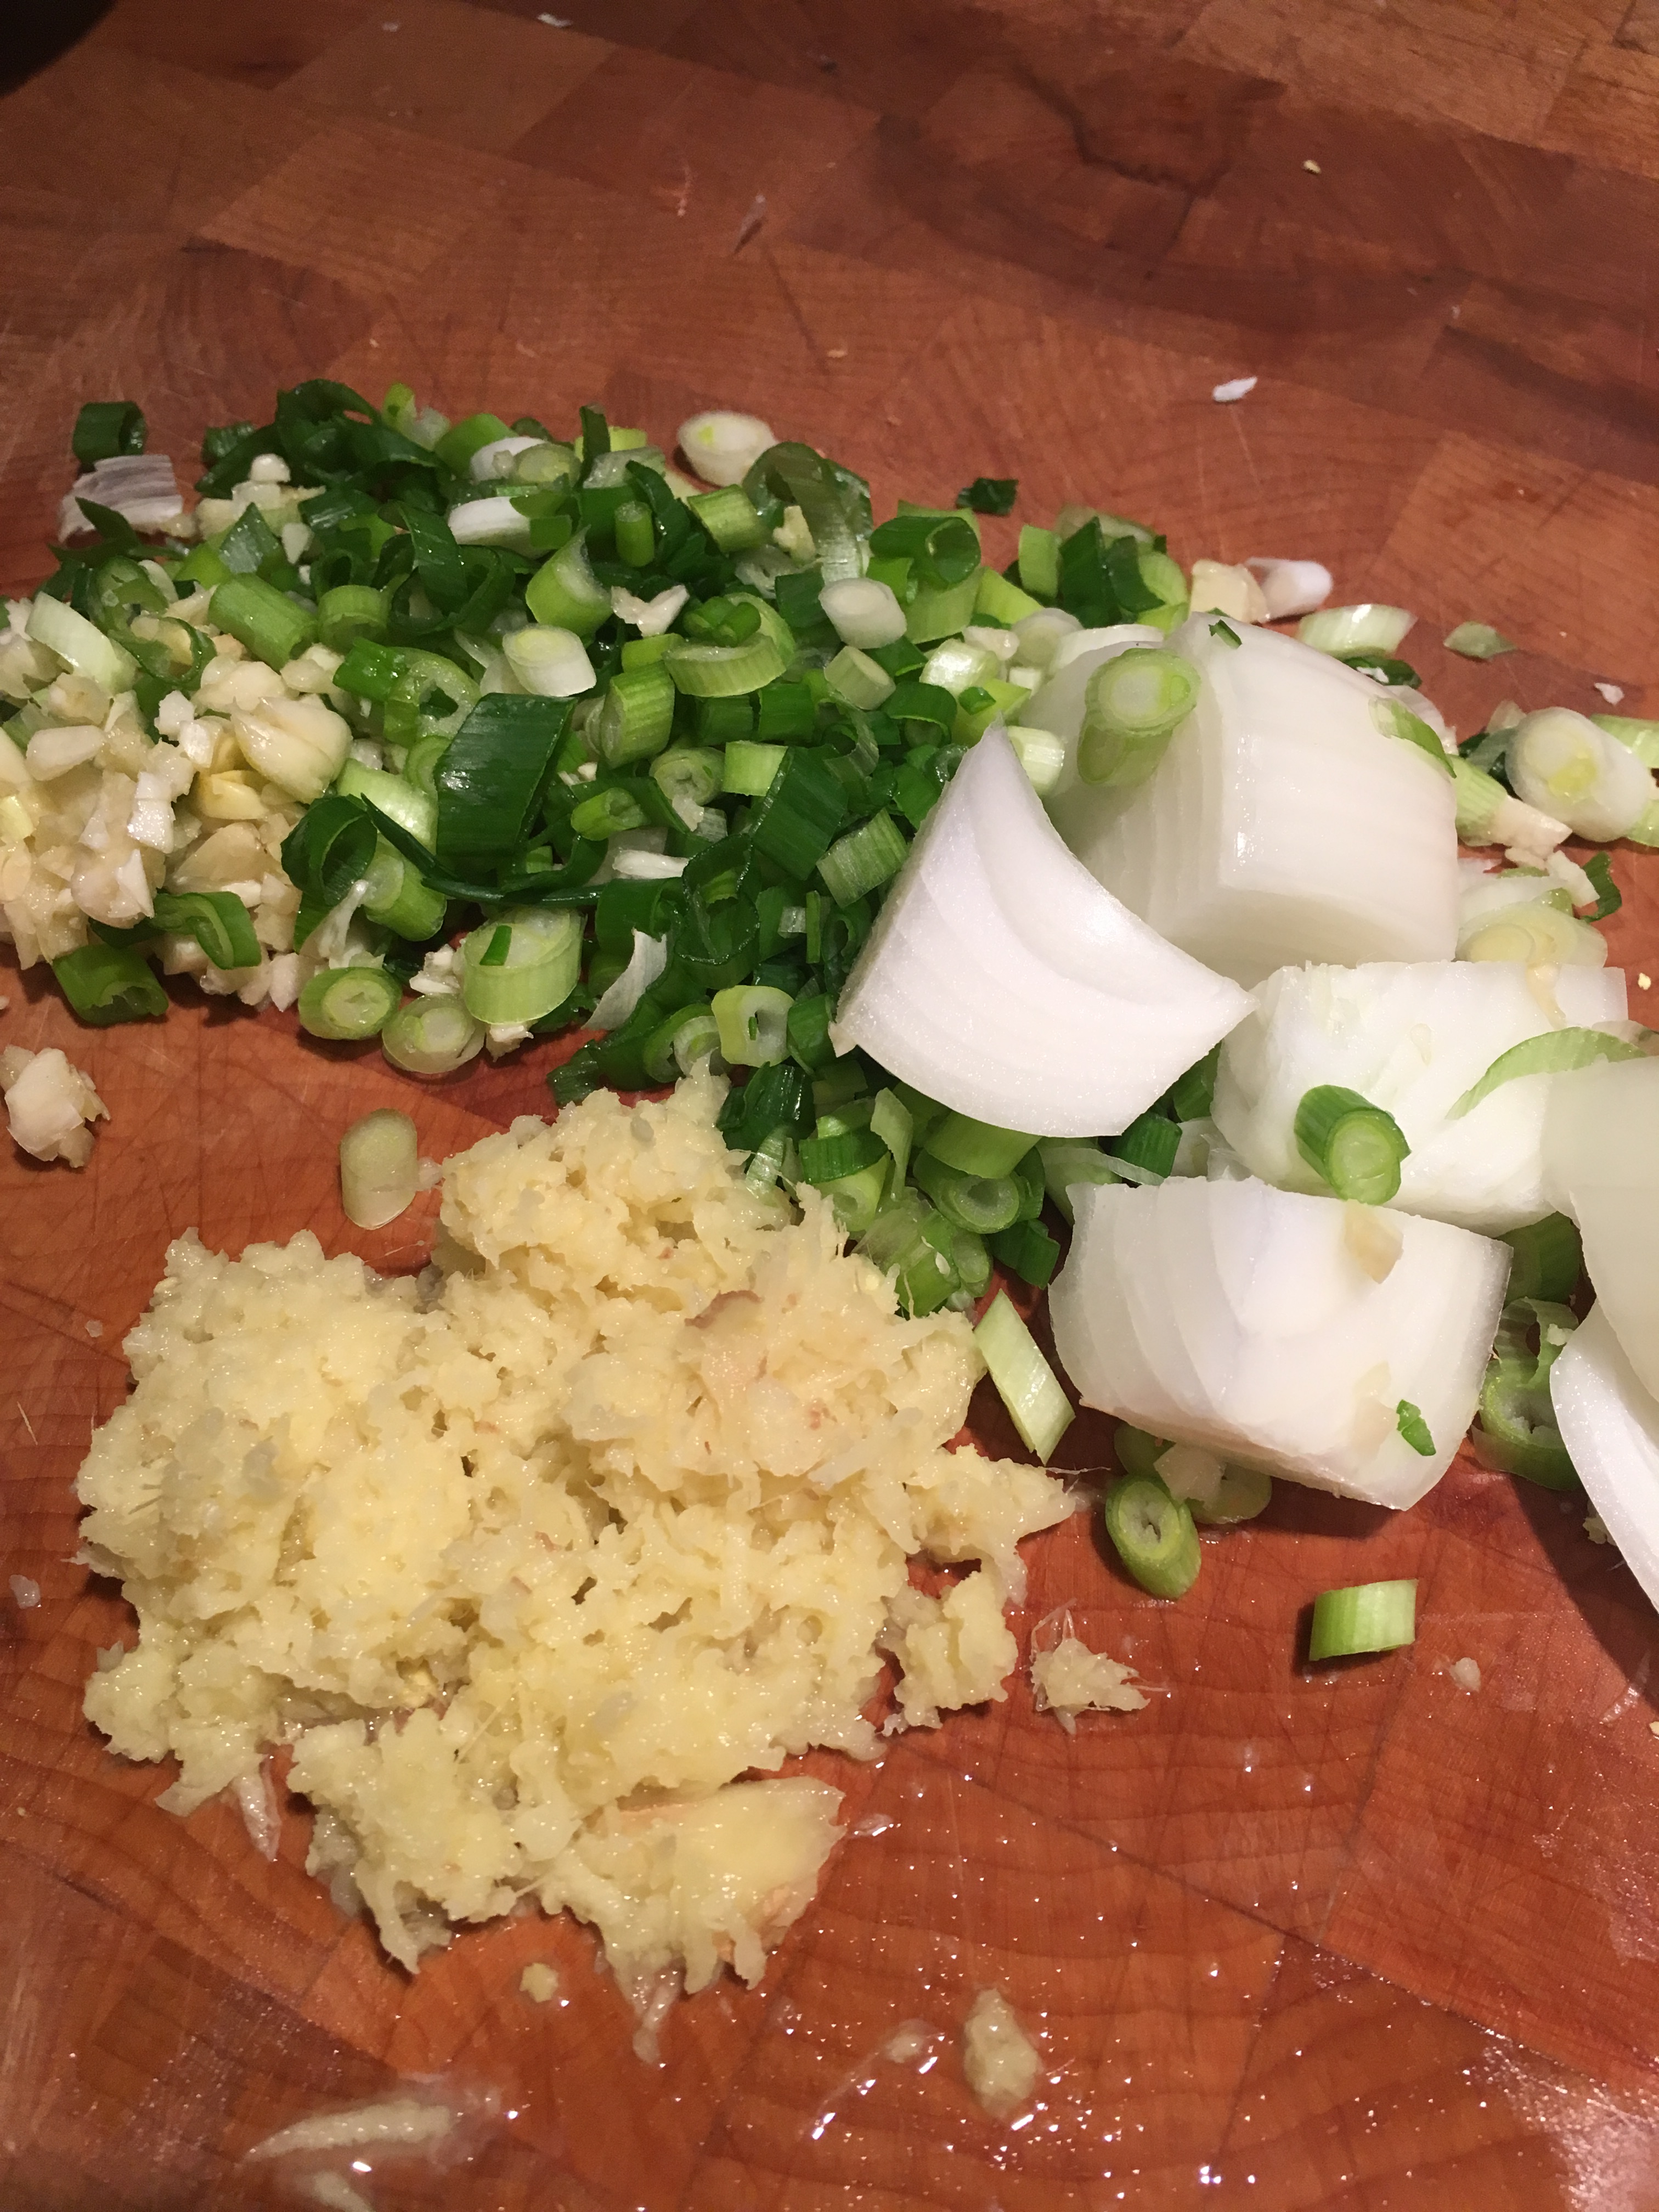
- 6 BIG bulbs of garlic, separate into cloves only smashing & peeling half of the cloves
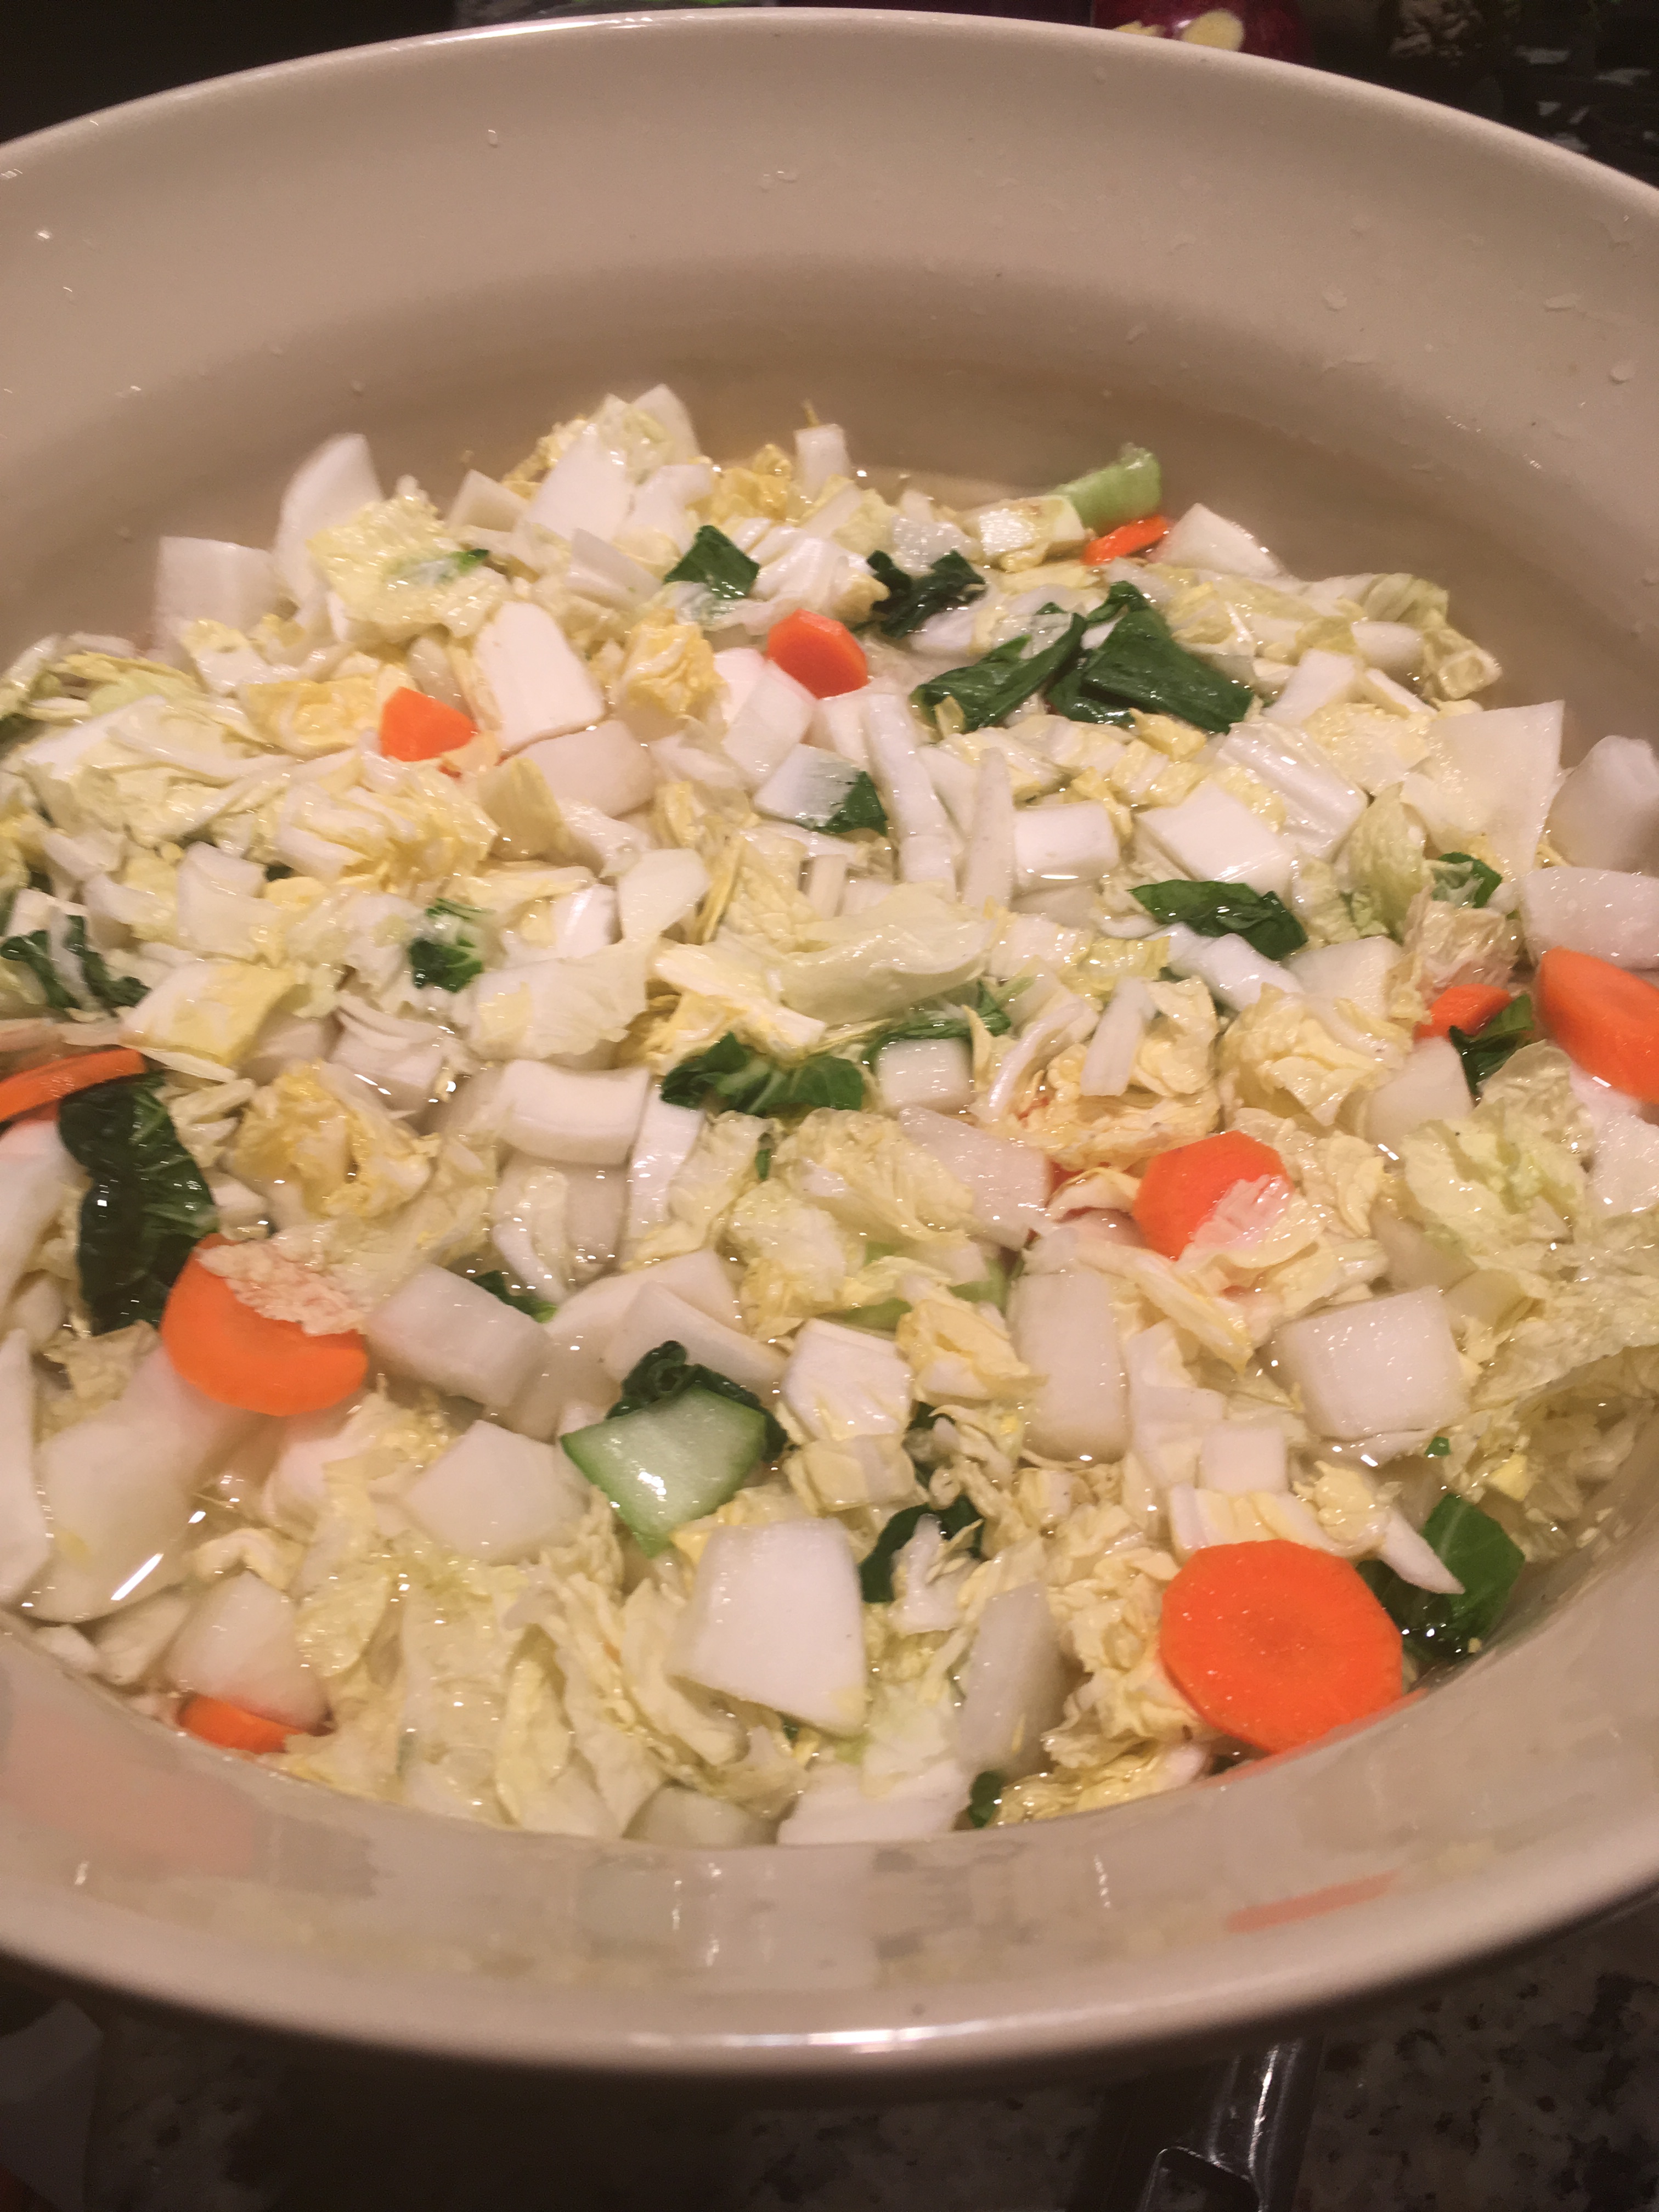
- 1 huge white onion, peeled & sliced
- 2 T ghee & 2 T olive oil
- 1/2 cup minced ginger
- 2 t fresh thyme
- 1/4-1/2 t cayenne pepper
- 1/2 t fresh milled black pepper
- 1 lemon, juice & 2 t grated peel
- 4 cups vegetable broth (Magic Mineral Broth)
- 1/2 to 1 cup coconut milk (I like the 1 cup)
- sea salt, a bit added while sautéing & final then for seasoning

Place have of the cloves, unpeeled in a baking dish. Toss with olive oil, cover and bake 45 minutes.

**I love Rebecca Katz & her Magic Mineral Broth.
Well, I love all of her recipes. http://www.rebeccakatz.com
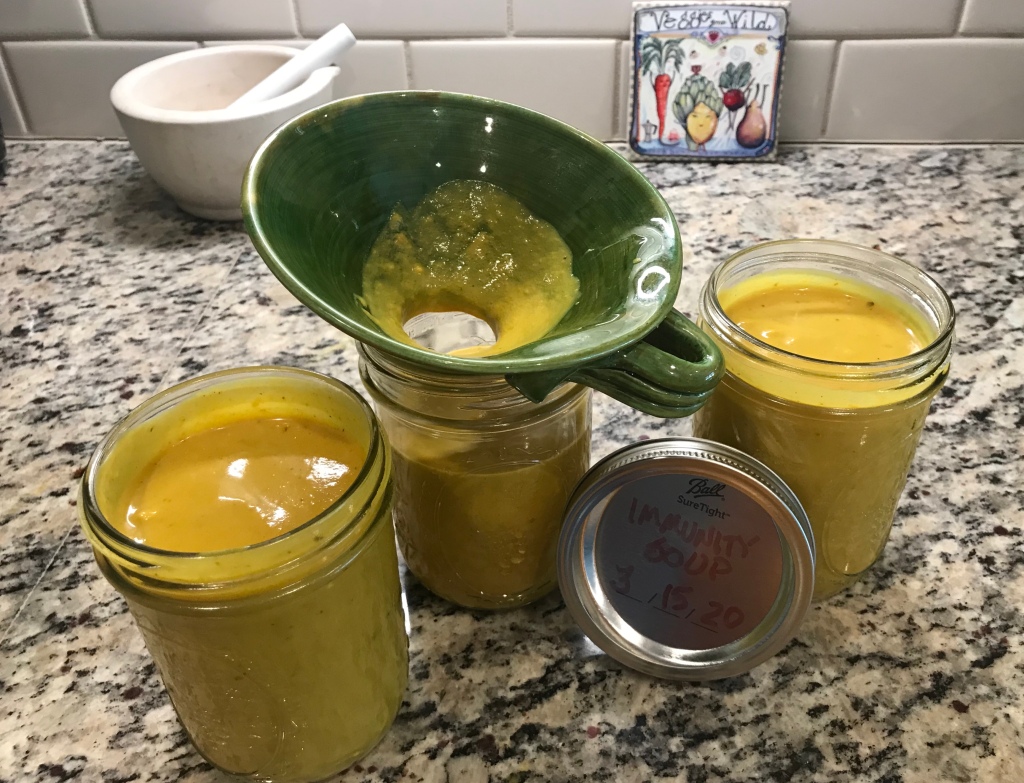
Puree the soup. Return to pot. Add coconut milk & heat through. Add remaining garlic cloves RAW, whole or chopped, your preference. Taste for seasoning and adjust.
- Garlic & Onion Cut at least 10 minutes before eating to release their power!
- One clove of garlic has manganese, B6, C, selenium, calcium, copper, potassium, phosphorus, iron, B6. BOOSTS IMMUNITY!
- Turmeric is a strong anti-inflammatory. Inflammation compromises your immune system. Turmeric must be eaten with black pepper & fat to best be absorbed. REDUCES INFLAMMATION!
- Thyme C, A, copper, iron, manganese & disinfects & stops coughs. SANITIZES & BOOSTS IMMUNITY!
- Ginger improves digestion (helps with turmeric absorption & allium digesiton), reduces inflammation, may protect respiratory system, fights infections! DOES A LOT!
- Coconut Milk is full of antioxidants C, E, & electrolytes potassium, magnesium, phosphorus & antiseptic properties & is an anti-inflammatory & has ZINC & is a strong gut health supporter. MIRACLE FOOD!
- Black Pepper is high in antioxidants is anti-inflammatory, boosts nutrient absorption & gut health. BRING IT ON!
- Cayenne – I go light on cayenne, a personal preference and intolerance to night shades, but it can aid digestion among many other benefits for folks.
- Lemon VITAMIN C and then some. For immunity boosting Vitamin C (time release) is recommended. I drink the juice of half a lemon every morning in warm water to detox my liver a bit as well.